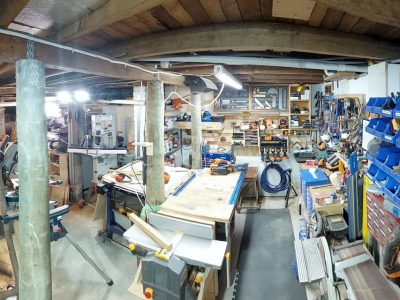
It’s going to be a tight fit where we want to put it and working around some of the piles and pipes is going to be interesting to say the least.
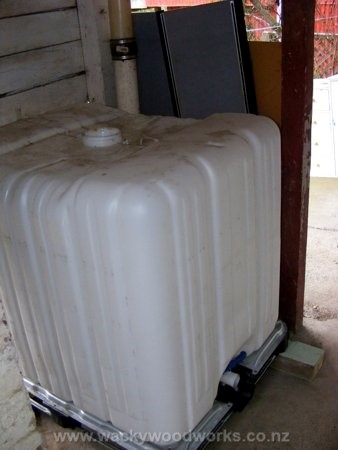
However after all that I didn’t need to build a stand to make it level, the temporary pile was enough, and the tank came with its own base and frame. But I did need to take out the temporary pile… which was a lot harder than putting it in.
I stripped the tank down into 3 parts, tank, base and frame, made it a lot easier to maneuver and work with.
I do have to work out a way of getting the aluminum frame back on the tank, or at least build some wooden supports to help hold it. We will see how we go.
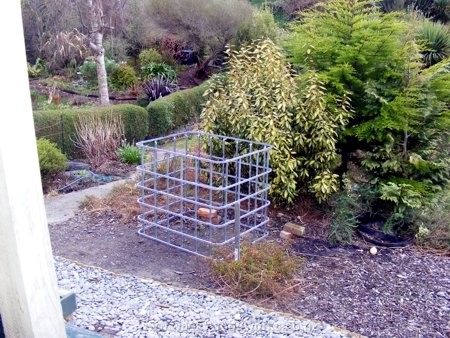
From there once done, it will be able to collect the rain water, and then continue to the drain when full. We did umm and err about where to put it, and the tank is a little bigger than I first thought.
After a bit of thought and playing tettrus… was able to put the alloy frame on tank… It went something like this.
-
Place base in position 1.
-
Move tank into place… it fits
-
Maneuver frame in to position 2.
-
Take tank out, maneuvering around frame and put in position 3.
-
Re-maneuver frame on to base.
-
Flip frame on it’s end.
-
Move tank from position 2 back to position 1 and slip into frame.
-
Flip tank over.
-
Tank on base in steel frame roughly where we want it.
-
Bolt tank back together.
All good.
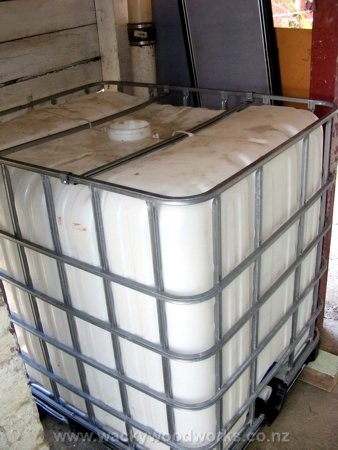
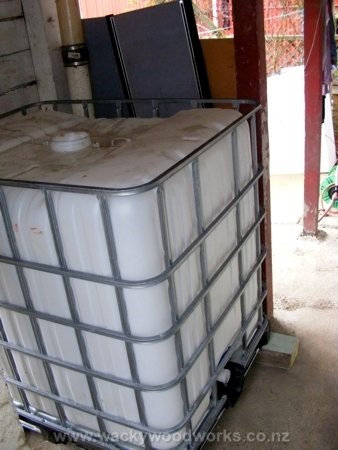
Those that know the layout of the land will know it was going to be a tight squeeze getting it in, and I always thought I would need help to maneuver it into place. Turned out with of thought and tetrus playing was quite easy doing it myself.
As stated I didn’t need to build a stand the old pile levels it nicely… so there was no wood work involved. This didn’t take as long as I thought and I had planned the whole weekend doing this… so now what?
The only thing left is to get it plumbed in with leaf catcher and first flush system and wait for it to rain…
So why am I wanting to collect rain water?
A question we get quite often when we say what the tank is for. Once the tank is full and working the rain water can be used for the garden. Also with all the natural disasters happening around the world and the Christchurch Earthquake, the water tank can be used for drinking water. Touches wood that it will never happen to us but if… if it does (and our house and tank survive etc) then we will have a good supply of drinking water till the the mains are back on line.
It ultimately means we in times of need we are a less drain on the available resources and when no disaster we are less dependent on council and corporations dictating over us that we can’t use water when we want to use water.
Anyway stay tuned as we plumb it with leaf catcher and a first flush system breather and over flow back into the storm water.
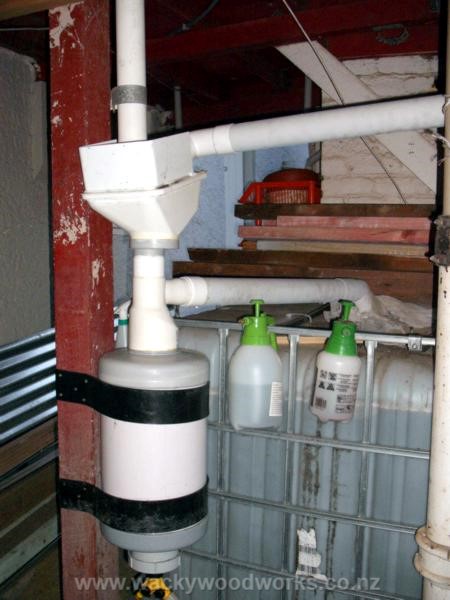
The water tank is in place, but until it can handle the over flow first we can have it receiving water… Now when we say plumbing we are not plumbing it to be part of our main water supply (yet) but just a supply of water that can be used on the garden and in emergency. However it could get a pump put on it at a later date.
I will admit on this one Hayden has made all the first flush system and most likely plumb it all up as well. This side of the project is really his. (well he does this for a living being a plastic fabricator and all.) And he has sourced all the parts.
So far this project has cost about $170.00 (Thanx to Hayden)
-
$100.00 for the tank
-
$30.00 for leaf catcher (Hayden did say he could made one but ot the cheaply)
-
$20.00 for a screw end cap.
-
$14.00 for hose valve, stainless steel nuts and bolts.
It is pretty simple system but should work. This will give is two 3rds of the tank (about 660 litres) as drinking water if required (we can also put water purifiers in if requried) the lower one 3rd is only for the garden use.

How the system works is pretty simple, rain water from the roof is captured first by the leaf catcher which is a simple strainer. Water then continues to the first flush system which catches all the bird poo and nasty’s off the roof. As this small tank fills, the floating ball valve will block and seal the pipe and the water is then diverted to the main storage tank. As the water storage tank fills it will get to a point where the over flow simply goes to the storm water drain as normal.
The 2 taps the upper is drinking water, and lower garden water only. If the water is below the drinking water tap then there is simply no drinking water left till it rains again.
After each heavy rain you simply drain the first flush system and clean every so often. This has a hose and can go on the garden or to the storm water.
Pretty simple yet an effective system really.

