Well this is an interesting project purely because my first idea I stuffed up on. I was given a triangle finished board for helping a friend. We have no idea what it was made of. It is heavy and very dense. Its solid. So in all my wisdom I thought I could use it as a coffee table top.
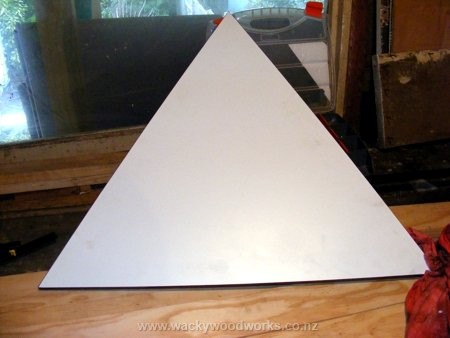
However I broke a drill bit trying to do a pilot hole, and when I got to the stage of attaching the under carriage it all went down hill from there. All was going well, till I got to the last screw and it would not go into the board… then all of a sudden it punched all the way through and counter sinking pretty deep into the board I was attaching… a few nasty words past my lips, the cat ran away and the sun darkened and the wolves howl as the words got worse… well you get the idea…
I thought about it for a second a few more words were spoken and thought bugger it… I’ll make my own triangle with some respectable usable wood…

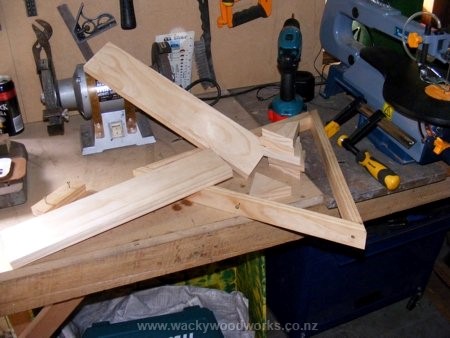
So I set off a cutting, setting the mitre saw to cut 30 degrees (left and right) Three bits to make a triangle under carriage. This will make a equilateral triangle (technically)

We have the under carriage for the coffee table. Gluing and screwing it together. Triangle is harder than you think to clamp…
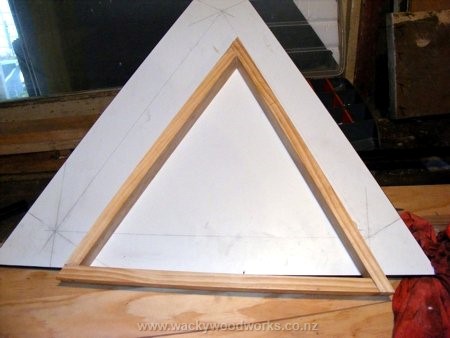
Under carriage and old table top before I did the opps bad word section.
Cutting bits shorter and shorter till we have a triangle.
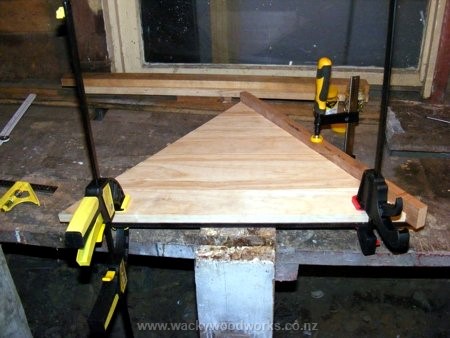
Making the new table top parts.


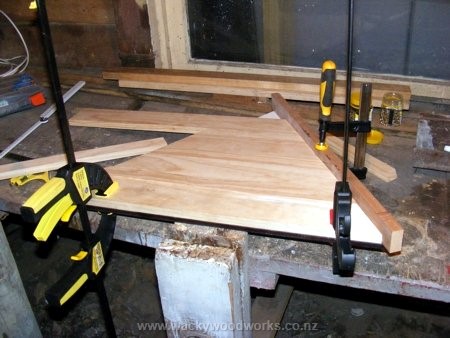
Gluing the new table top together. You can never have to many clamps… I could have done with a few more. Once these set, start gluing the bigger bits together. The hard part will be when I glue the top or the cap of the triangle on and trying to clamp that…
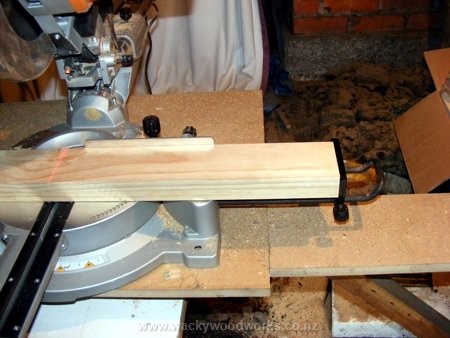
Cutting legs

Set the guard to get all legs the same length.


Clamping the smaller to make bigger and eventually a triangle.
Ermm I ran out of clamps
Leg pieces cut… 1,2,3… errr 5,6 did I count that one…
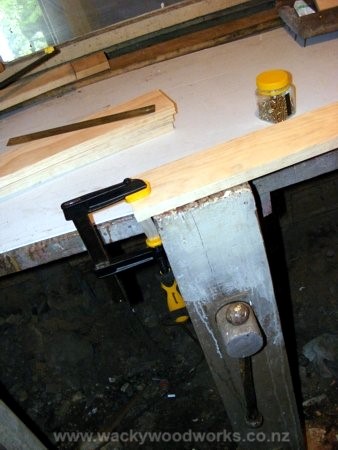

Making the legs. How to clamp a triangle and the tex screw to make it clean by simply clamping before your tex screw it. This way the screw goes cleanly into the smaller triangle with out any effort of trying to hold it into place.
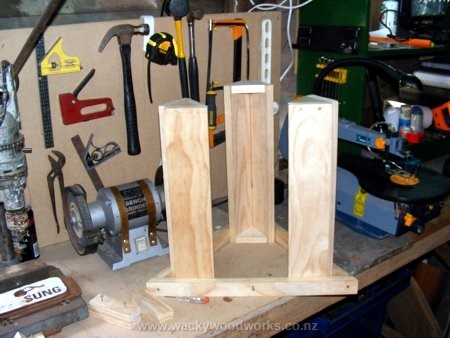
You get the idea now. I would have done the legs differently if I had a router or buzzer… but alas I have to make do with what I have got.
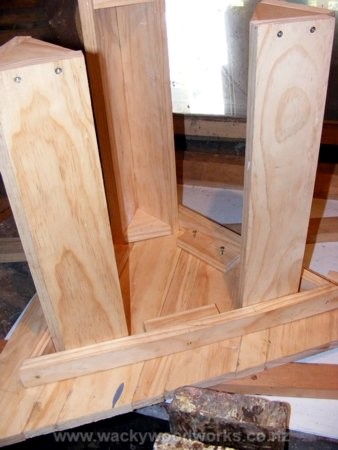
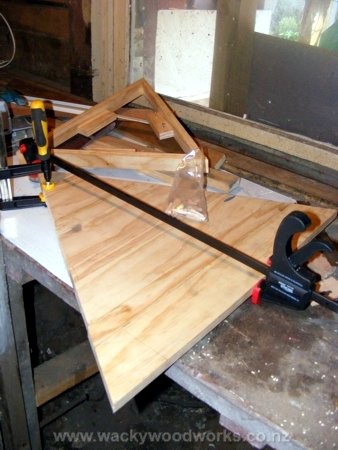
The last piece to make the table top, needed to dowled in to give it the extra strength as the undercarriage does not reach it.
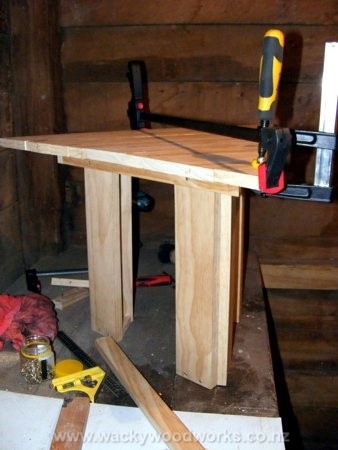
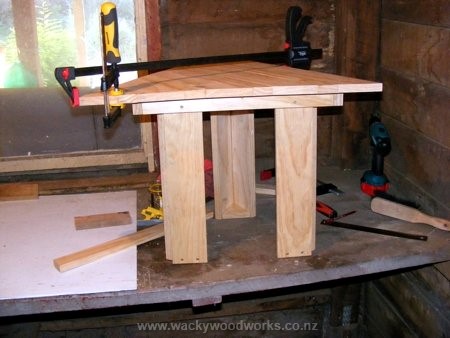

Bottom leg supports, have to be made yet.
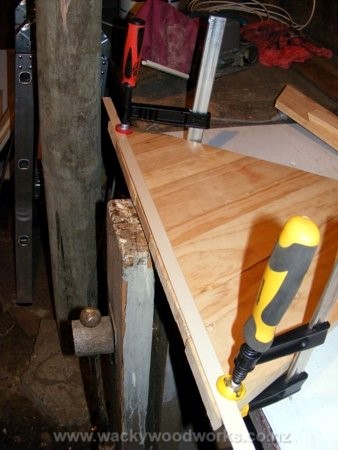
Since I don’t have a table saw to just trim shave the edges. Clamp a straight edge and belt sand carefully. Do have to be carefull on the ends. A planer or buzer would be to rough and may rip the glued joins apart.
Well I will tell you how this turns out in part four.
Those that have been following this (all 2 of you) will know that my right arm is playing up and not 100% as such. But I just do stuff any way and moan about it later. Using the belt sander wrenched my arm a bit part four is incomplete at this stage.
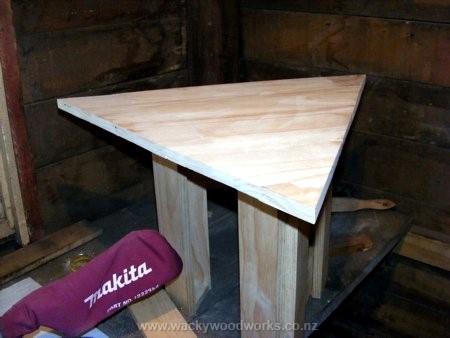
Borrowing a friends belt sander (and this is on my wishlist) Have been able to sand the top and edges to make the uneven joins even and rustic smooth. I will use the orbital sander later to smooth off a bit more. However it did wrench my weak sore arm and make a few extra marks (arm now worse for wear just Don’t tell Paula or my sister), but these marks can be hidden with more sanding and or staining or painting etc.
If I had a router I would attached a edging but since I don’t I didn’t simple as that.
Final stage
All that is left to do, was to put the leg supports on which I might add I didn’t quite have a enough wood… so they are a fraction to short for reaching the complete mitre. Secure the top to the undercarriage and legs and give a lite sand with orbital sander.
It’s not perfect, but but heck its not bad either.

Put it all together and you get… One coffee table.
Tools Used
-
Sliding Compound Mitre Saw. Cutting most of the lengths and mitring.
-
Belt Sander. Ummm sanding. (Borrowed before I got my own. Now have my own)
-
Finishing Sander. Ummm finer sanding
-
Cordless drill. (both of them) One with pilot drill and one as a screw driver for tex screws..
-
Clamps. Ummm clamping everything to allow it to set. Interesting clamping a triangle shape.
-
Rubber mallet. Joining the table top, with dowel. .
-
Steel rule. measuring stuff
-
Square. Squaring stuff… not that there was many square angles mind you.
Wish I had
- Table saw or circular saw. (since this was built have circular saw.) would have helped evening the edges of the triangle that did not set 100% even.
- Biscuit Joiner: Made it easier to make the triangle.
