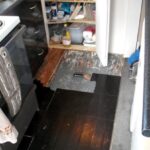
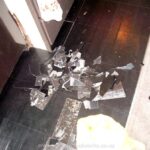
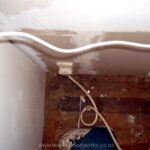
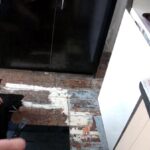
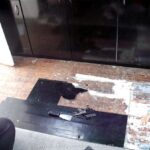
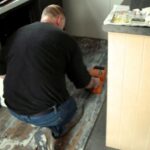
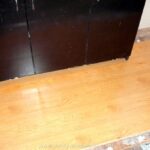
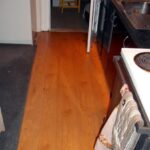
- Xaria at one end Nighthawk at the other, I’ll meet you in the middle. You can see the floor boards through the tiles clearly in this photo.
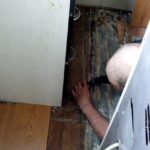
- Behind the stove
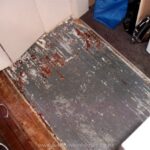
- Bugger..taking off the last few tiles we find bog… this means instead of plan A which was varnishing the floor we are now switching to plan B, which is laminated wood like tiles. Well there was only one way to find out and now we know. Doing jobs like this, always and I mean always have a back up plan if for some reason you can’t do your orginal plan at least you have a backup idea. Hope for the best prepare for the worst. So instead of varishing these floors we will now buy some liminated wood tiles and lay them over it. It is going to cost about the same. But we still have to do the preperation on sanding back the floor and getting the boards pretty even. This way there will be less problems when we come to lay the new boards.
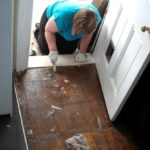
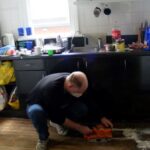
- Xaria degunging the gunge. Glue residue.
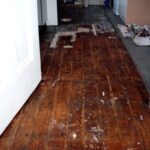
- Detiled… half degunged.
- oh and a bit of chiseling
- Sanding… sanding and more sanding… verking verking alvays verking
- A dry run on the flooring…. hmmmm
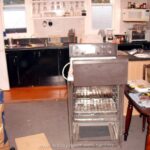
- Xaria, bad house keeping untidy kitchen & dinning. Oh and a word of warning… When we measured we came up with just over 3.2 square metres, no problem the packes we saw in Mitre10Mega did 2.39 square metres. So all good only need to get 2 and will have a little left over. Xaria went to Bunnings and saw the same type of thing and a bit cheaper, and going off the Mitre10Mega version thought only needed two packs. However the Bunnings packs only do 1.8 metres. So even if it is the same but at different store always check how much it covers. It’s all good and fun and games.
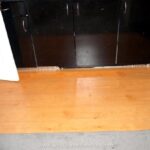
- Just needs edging and door pieces thingys…
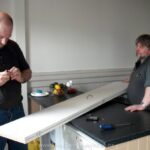
- I will make some scotia on table saw and router.
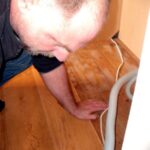
- Stupid vaccum cleaner… blow up in my face… who has the last laugh now huh??? lol
- Remembering which parts went where on the byfold door to the pantry
- Ok… I go get a spanner to a adjust this
- Home made skirting. Ripped on table saw and the curved with router.
- Under fridge and dishwaher.
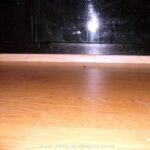
- Unfinished under the dishwasher and fridge etc… Finally got round to fininshing the floor under the kitchen island fridge and dishwasher and storage area. Only took a year.
- Under storage area. Just needs some skirting to tidy up a little.
26th November 2011
We never did like the kitchen floor tiles they were not done properly and always looked like the floor wasn’t prepared properly for the type of tiles going down on the floor. As they settled and stuck properly you could see the floor boards underneath.
Bugger… taking off the last few tiles we find bog… this means instead of plan A which was varnishing the floor we are now switching to plan B, which is laminated wood like tiles. Well there was only one way to find out and now we know.
Doing jobs like this, always and I mean always have a back up plan if for some reason you can’t do your original plan at least you have a backup idea. Hope for the best prepare for the worst.
So instead of varnishing these floors we will now buy some laminated wood tiles and lay them over it. It is going to cost about the same. But we still have to do the preparation on sanding back the floor and getting the boards pretty even. This way there will be less problems when we come to lay the new boards.
Oh and a word of warning… When we measured we came up with just over 3.2 square metres, no problem the packs we saw in Mitre10Mega did 2.39 square metres. So all good only need to get 2 and will have a little left over. Xaria went to Bunnings and saw the same type of thing and a bit cheaper, and going off the Mitre10Mega version thought only needed two packs.
However the Bunnings packs only do 1.8 metres. So even if it is the same but at different store always check how much it covers. It’s all good and fun and games.
It is a shit of job to do this stuff and would not really recommend it for a D.I.Y unless you have a big open room I guess it would be easier. I am not happy with the way the pieces clip together and don’t stay clipped. The photo’s don’t show the gaps. Some joins are perfect and yet others no matter how hard you try are not. Follow instructions and well I will reserve my judgement till after we have put the edging and scotia on.
No matter how hard you try clip one in and it unclips another… so you clip that back in and well it is a never ending process of chasing gaps. You are suppose to leave a 5mm gap around the edge (it is a floating floor) for expansion. I can not see how it can expand 10mm in all directions on such a small floor area. On a large room maybe but this I doubt it.
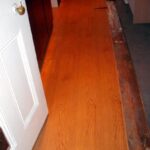
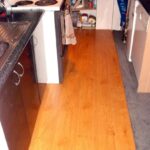
Now that part looks finished. We only need to get the carpet joiner thingy and a edging for the doorway. So haven’t really finished at all… lol
Tools Used
- Belt Sander: Ummm sanding off paint.
- Orbital Sander: Ummm finer sanding.
- Mouse Sander: Even finer sanding.
- Multi Tool: cutting door trim and various other bits, sanding
- Elbow grease.
- Scrappers.
- Table Saw: ripping planks to make scotia skirting. And shorten the pantry byfold door.
- Planner: The plan bottom of byfold door only to realise that it needs a good 10-15mm taken off. (Borrowed from a friend)
- Router: Making skirting.
- Drill: Re-drilling holes in Byfold door and predrill holes for skirting.
- Spanners/Screwdrivers: Taking off and putting back up pantry byfold door.
- Hammer. Securing skirting.
- MitreSaw: Skirting.
Would have like to have had.
- Router table. Clamping the skirting lengts whilst do able was not optimal
- Some one else to do it for free… 🙂
Materials Used
- Paint stripper to de-goo floor.
- Silver underlay.
- Laminated flooring.
- Panel pins.

